Ron, All of the original welds on the armor were done in stainless and they held up very well over time. As I was tearing things down, I found the Swiss had not always used stainless for thier additions and for the places that they welded up British holes and features. So I opted to use normal steel as that was what I already had for the two welding rigs in sticks and wire reels. Sometimes hit reactive areas where the old metal wasn't pure or it could have been something to do with the hardend armor. That required extra grinding and then rewelding but none of the welds have cracked so far which is supposed to be one reason they used stainless during the war I'm told.
For paint, I use an enamel which is sold in gallon cans here in the USA for military vehicle restorations. Color is coded 33070 Olive Drab Flat and I reduce it with xylene so I can spray it through my paint gun with an air compressor. The primer is a red oxide made by the same people and I use xylene with it as well. The stars and registration number are semi-gloss white Rustoleum from a stray can. The squares for the unit markings on the fenders are smooth satin midnight blue Rustoleum for the Wessex Wyvern and Semi-gloss black for the vehicle code plate. The actual Wyvern is hand painted with Testors gloss gold model paint and the 64 was sprayed with the same semi-gloss white used for the census number. The bridge plate was also hand painted but with flat black and flat yellow Testors model paint.
Colin, I don't have a crane and am too cheap to rent one when it would have helped me out. I figured a long time ago that I'd likely need a way to recover my own vehicle if it broke down in the field. So I welded a 12-volt winch to a plate which is welded to a normal removable tow vehicle receiver hitch fitting. The receiver hitch section normally mounted to a truck is welded to the front of my trailer behind the spare tire mount. That way the winch is only outside when I actually need it with the trailer and I can use it for other tasks while hooked to the truck if needed as well. It has enough power to allow me to drag the hull onto the trailer deck before I had wheels mounted when I took it in to have it stripped. After that I made it a priority to get the wheels done so it would roll around easier which sure makes it simple now to load and unload with the winch.
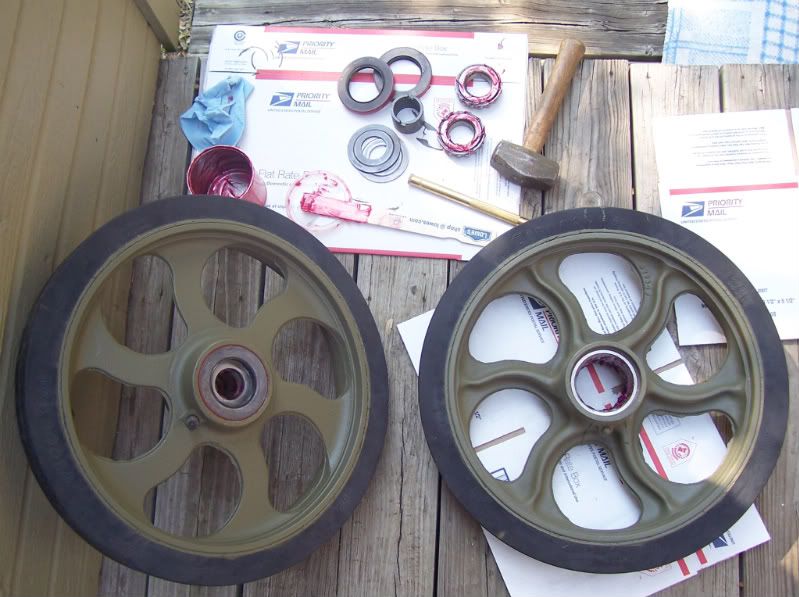
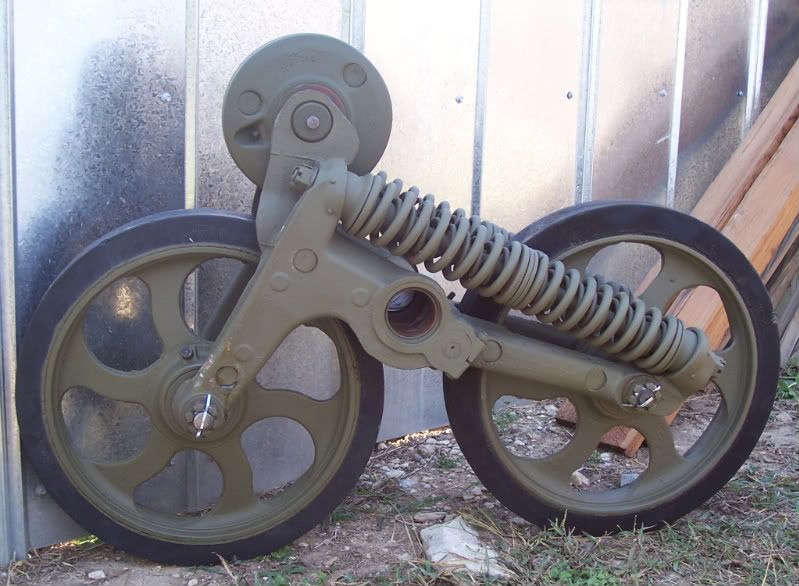
Shots below of the wheels as I rebuilt them as well as a few showing the last time I loaded so you can see the winch in use. I'm on a hill which puts the rear of the trailer almost on the ground when backed all the way down in case you are wondering if I have a tilt trailer. Boards on my ramps cover up the angle iron steps which don't affect me loading my jeep but would likely cause added problems for the carrier wheels if not covered.
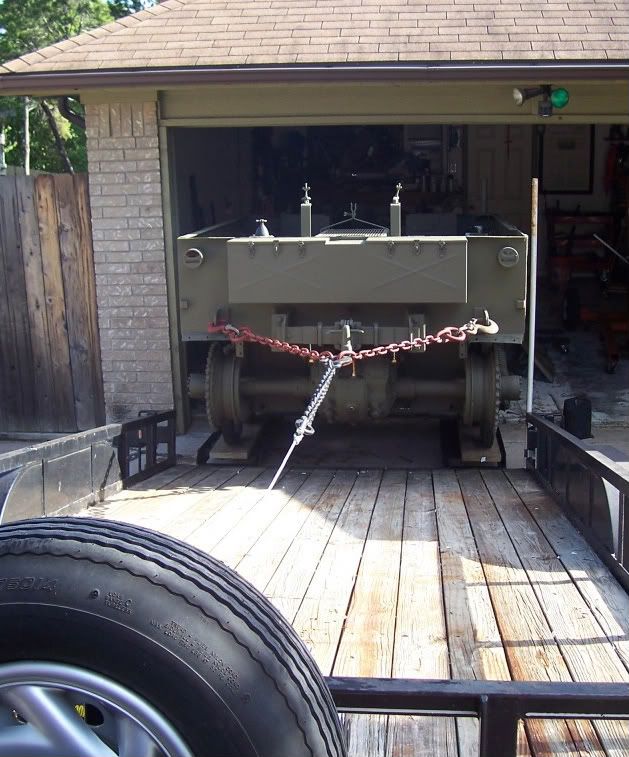
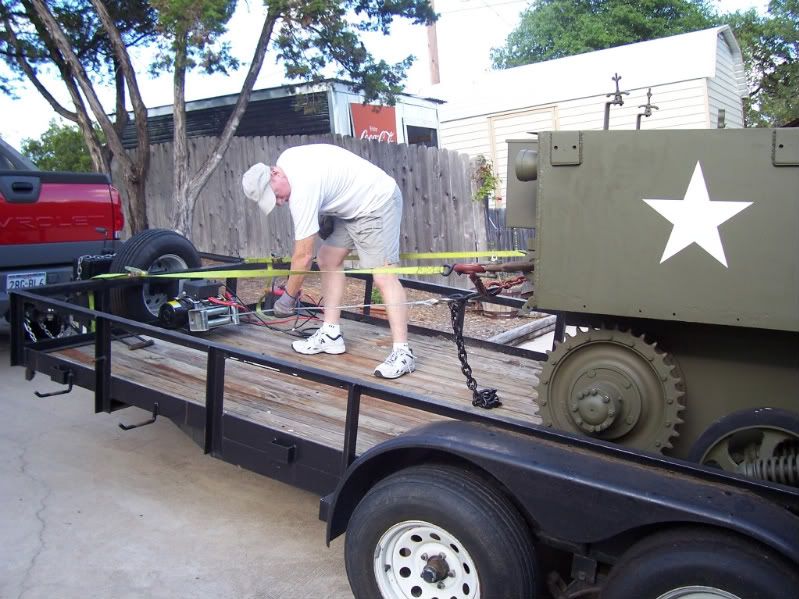
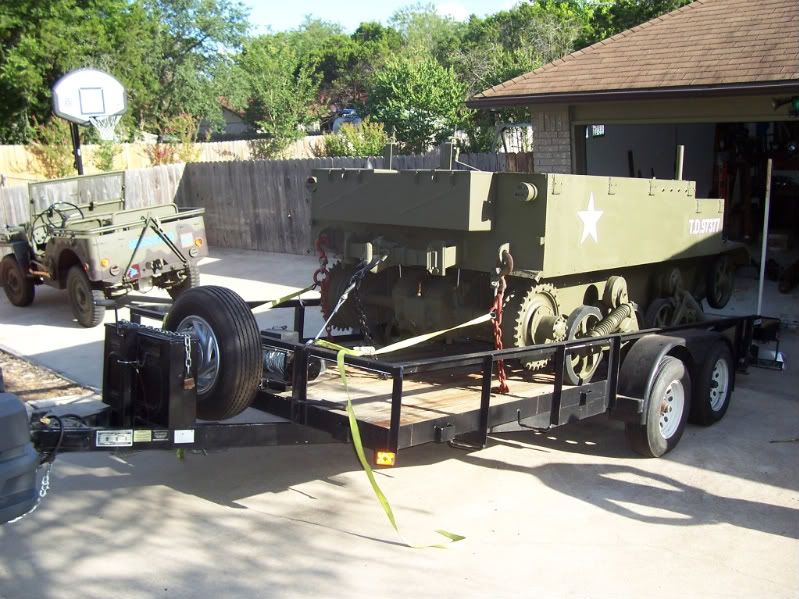
The straps you see in some of the shots are used as safety lines and I take them up as they get slack from the winch pulling the carrier onto the trailer. Cheap insurance in case the cable snapped as the wheeled carrier would roll through my garage and thru the brick wall in the back, taking out my work bench and welder along with it.