|
#1
 10-06-10, 01:49
|
|||
|
|||
|
It dawned on me that, now that I've purchased my truck, I have NO idea where to start on it.
Well I do sort of. I need to get it out of the yard where it's stored, dump the junk out of the box on the back and remove the snowblower. Then get it to my Aunt's machine shed to work on it. But, once that's done, what do I do to get it on the road again? I have NO idea what instruments are missing on the instrument panel, NO idea how to service/rebuild the motor or the transmission (the truck runs and moves but it hasn't been serviced in more than 20 years) heck, I don't even know what kind of oil it needs! Is there some kind of "CMP rebuilding for dummies" book out there? I'm beginning to think I've bitten off WAY more than I can chew here... 

|
|
#2
10-06-10, 03:49
|
|||
|
|||
|
Seriously, this is the place to find out about CMPs.
__________________
Terry Warner - 74-????? M151A2 - 70-08876 M38A1 - 53-71233 M100CDN trailer Beware! The Green Disease walks among us!
|
|
#3
10-06-10, 05:10
|
||||
|
||||
|
Quote:
Not photographing everything; Not labelling or tagging everything with INK; Not organizing parts, and most importantly; Not asking for help (until it was too late). CMP Ten Step Program (recommended): 1. Your first step is to learn from MLU -you won't find a better resource for info, advice, and CMP fun. 2. Get a good set of SAE wrenches and a good socket set with deep and short sockets. 3. Find a lot of coffee tins or plastic containers in which to store small parts for future use - milk crates are great for the larger parts, and pallets are very useful for outdoor storage for the real large and heavy parts. 4. Strip down the truck - keeping parts organized. 5. Clean useable parts. 6. Look for replacement parts/clean them (tear down to verify fit, form and functioning). 7. Sandblast the big bits (with the usual cautions). 8. Paint everything. 9. Reassemble. 10. Drive the beast - but beware of sore facial muscles from SEG. Enjoy!
__________________
RHC Why is it that when you have the $$, you don't have the time, and when you have the time you don't have the $$?
|
|
#4
10-06-10, 05:36
|
|||
|
|||
|
1 you are smarter than the one who doesnt have a CMP
2 Never turn down a donor truck and sign your own body donor card 3 Do what you can and ask MLU for what doesnt come naturally 4 Ignore and avoid smart asses, found a lot displaying gas warfare 5 Always remember you are doing this for yourself 6 Don't consider restoring as a investment 7 Admit it when you make a mistake and try again 8 Be proud you are in good company 9 Once money is spent, don't look back. 10 What you need and see to-day will be gone to-morrow Western Command has been a BIG help so join your local group maybe drive or passenger in a parade, see you in 2012 
|
|
#5
10-06-10, 10:53
|
|||
|
|||
|
I have heard it done this way.
Slowly strip the truck, but rebuild/restore/repaint each part that you take off. Store all parts neatly out of the way; when you get to the chassis it is a matter of just reasembling all the "units" that are now in A1 condition. Needless to say I did it the usual way, pulled everything of the chassis in one day, spent the next 12 years walking around piles of parts and trying to remember what they where and where they went. Of course, with a near complete vehicle it may be better to do just the basics to get the old girl on the road, have some fun and see if you want it after the first noisy rough gear- grinding drive. Drain all the oils, any oil that looks like grey mush is contaminated by water, so bearings will be pitted at the least.(This means further investigation will be required). Refill with fresh oils, grease anything with a nipple. Take each wheel off, check out wheel cylinders as they tend to have issues if not used for a few years. Check/lubricate bearings when you put the wheels on. (just remeber that the wheel nuts will be right or left handed depending on side). Replace brake fluid Drain the fuel tank. Flush through radiator while replacing the hoses. If it still holds water after this, you can put it on the to do list for the future. Usual plugs/points/leads. Good battery, make sure there are no shorts, no smoke is a good sign. Bit of fresh fuel, a little down the carb, it may even start. Workshop manuals are a must, still easy to pick up on E-bay, over here they can be found at most swap meets. Amazing how heavy some of these parts are, transfer case springs to mind here. Try to remain focused on whatever assembly you are working on, very easy to jump ahead to something that is more interesting. These trucks are usually put back together by the next owner.... You are doing this for enjoyment, so ENJOY it. If at times it will have go to on the back burner, so be it. At the end of the day, you are doing this to please youself, not the countless experts that will no doubt run into. Good luck for the future Rich.
__________________
C60S Austin Champ x 2 Humber 1 Ton & Trailer
|
|
#6
10-06-10, 11:34
|
||||
|
||||
|
Follow what Jaap De Witt has done with his Cab 11 in the Restoration forum. One of the best photographed examples of a resto youll see.
There are plenty of others as well. All done by very committed and dedicated blokes. 
__________________
Pax Vobiscum.......may you eat three meals a day & have regular bowel movements.
|
|
#7
10-06-10, 11:40
|
|||
|
|||
|
which each have their merits.
My brother and I bought a pair of 8cwt CMPs back in the 80s. I stripped mine down to the chassis, and spent the next 5 years rebuilding it, with a lot of help from local club members, before I could drive it. My brothers Chev was kept on the road and restored bit by bit over a similar period. He got to enjoy using it, but the big jobs weren't done till later, when a donor truck came along, and major parts could be rebuilt then swapped onto the going truck. He had his share of calamities: a stripped timing gear, a piston crown separating on two occasions, and a serious loss of oil on another. Many of these happened about 100 miles from home too. That truck did some long journeys of 300 to 400 miles there and back. It has a reconditioned motor now, and is very reliable. 25 years later they are both on the road still, and we travelled 800 miles at Easter to the national rally. They are in need of TLC (or refit) now, but that will have to wait for a while. I agree with the comments above: photos and labels, and lots of containers. Steel ammo boxes of all sizes help too, and make it easier to lug stuff around if you have to shift, or to stack up for storage. You will learn to cut a nut off with a cold chisel without damaging the threads of the bolt. If your hammer doesn't shift something, don't belt it again, get a BIGGER hammer. A few heavy whacks are better than lots of little ones. On this site you will find info on mixes for DIY penetrating oils, and rust removal concoctions, sources for parts and modern equivalents, and measurements or patterns for missing parts. Welcome to a great hobby: you will meet friendly people from all over the world who share our passion for rusty old trucks in khaki and other greens . cheers Rob
|
|
#8
14-06-10, 05:30
|
|||
|
|||
|
Thanks for the encouragement and advice guys, It's much appreciated.
I took some more photos of the truck In Situ today, I should have it out of there and in my Aunt's machine shed in about 3 weeks or so. Earlier if I can manage it. I brought out a battery and some fuel. It turned over fine but couldn't get it to start. It popped a few times but no go. Oh well, can't have everything. I thought I'd share a few photos of today's excursion. My son standing on what's left of the box; 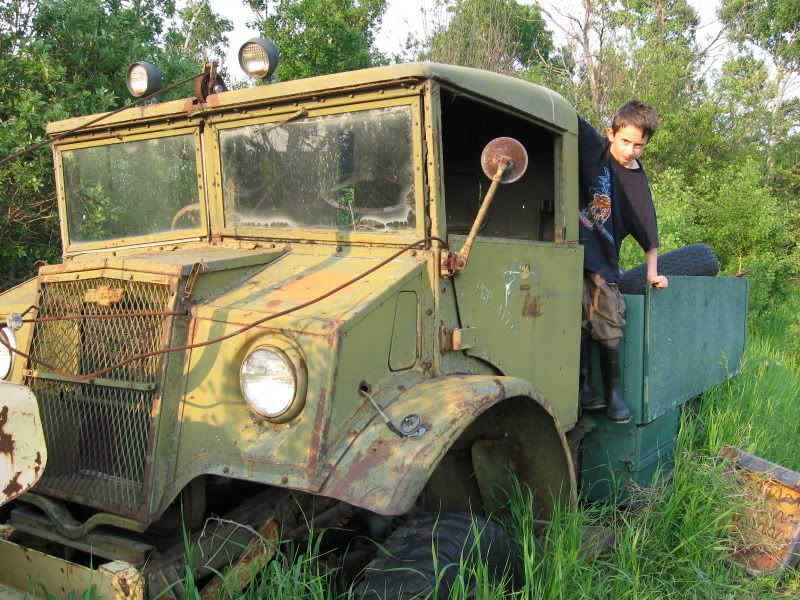 The back of the cab showing the rotten old seat, and the arrangement the old owner built to turn the snow-blower's chute; 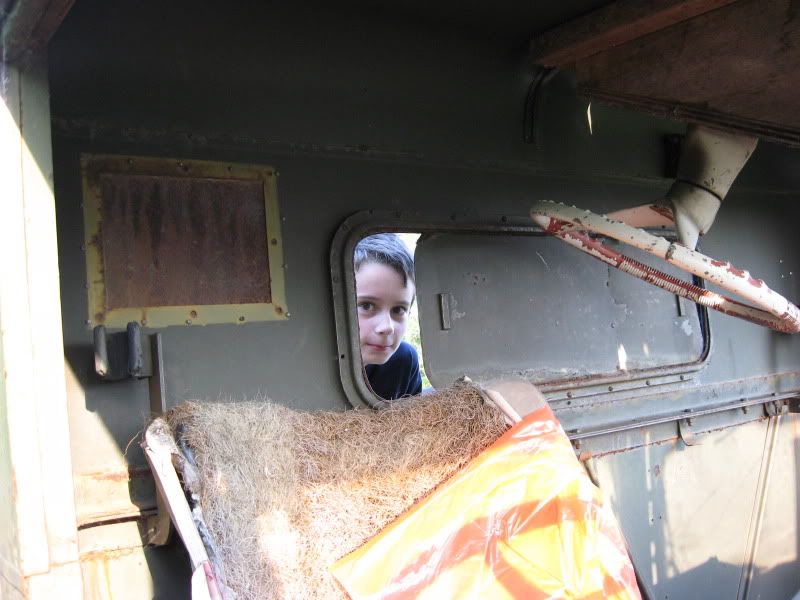 The rear hitch, still works fine; 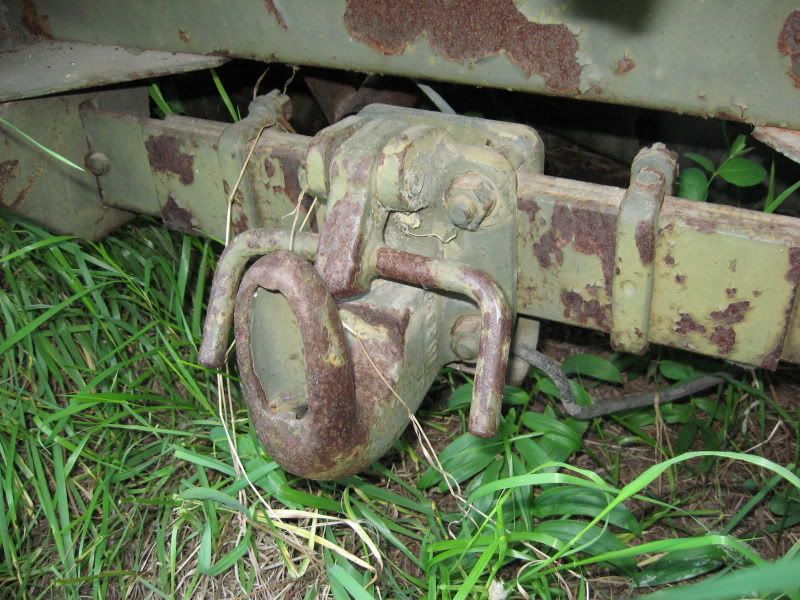 Front just under the driver's seat; 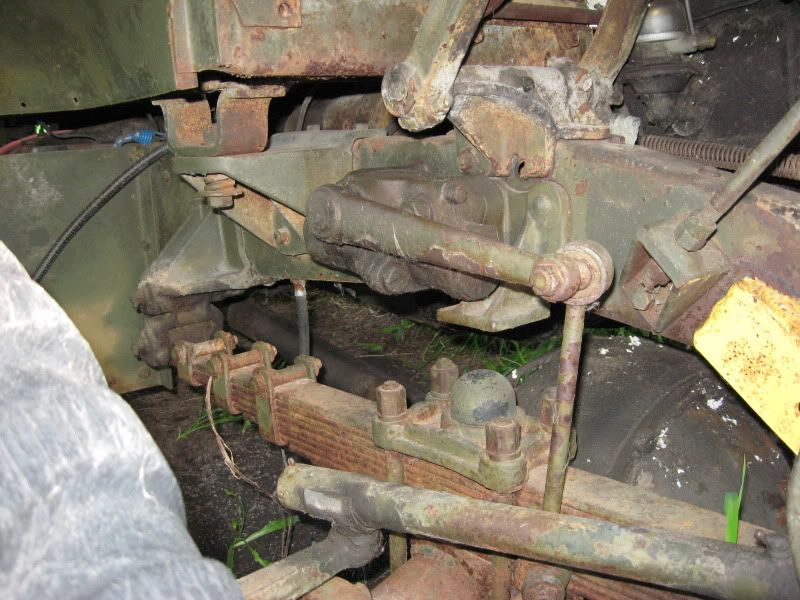 And a nice photo of the grill at sunset; 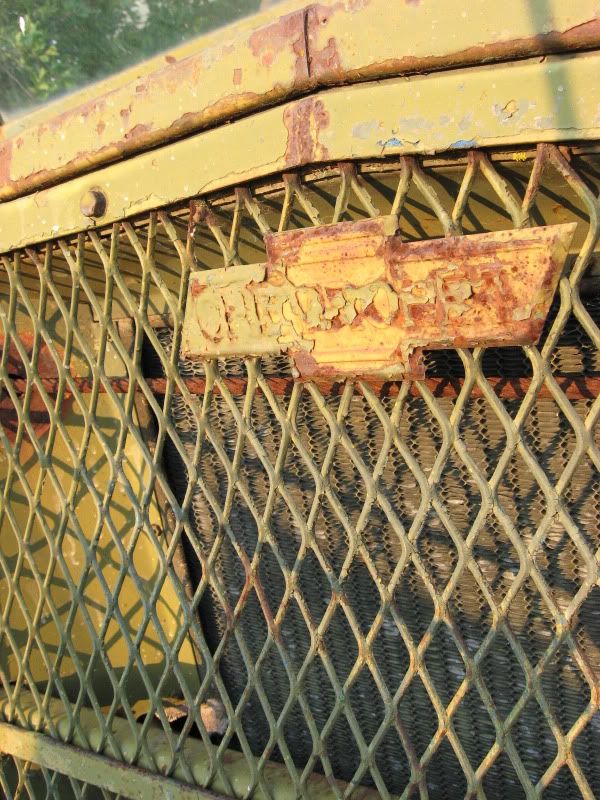
|
 |
|
|


 Linear Mode

