
 |
|
#1
|
|||
|
|||
|
The aim of this thread will be to show a restoration of a Jeep M38A1-CDN3 recoilless rifle. The process might be a little bit longer than it appears and this is mostly because I'm totally new to this hobby. I'll be asking for help and tricks and parts during this journey. Many of my questions will sound like a total beginner which I am.
I'll try to take as many pictures as I can. I would like this thread being a good starting point for someone like me, that has no mechanic knowledge. I hope this will be inspiration for others who are thinking like me that doing this kind of magic is something impossible. My learning curve is very steep right now but I'm highly motivated. Why did I choose the Truck Utility 1/4 ton 4X4 M38A1-CDN3 106mm Rcl Rifl? That is pretty easy. I served 6 years in an anti-tank platoon. I did not use the the 106mm rifle but the TOW missile. The way that I'm collecting stuff is some kind related to my military career. So, I was machine gunner, I try to assemble a machine gunner outfit. I was in the anti-tank platoon, I find out it was a bit hard to find all the anti-tank outfit from WW2, so I decided to look for something younger and I found this awesome Jeep. Let's start with the beginning, when I took possession of this Jeep, on the Hammond Barn ground and where I met some real gentlemen. So please, feel free to make comments, to give advices, to share tricks and knowledge about anything and everything related to this Jeep. Don't be fear to stole the thread if you feel you can learn something from someone else. Sharing and having a great discussion is the good way of using social media. Alone we know only bits and pieces and in group we know almost everything. Let's this happen on this thread! |
|
#2
|
|||
|
|||
|
First pictures of the Jeep's arrival. I can't describe how excited I was and I have to say, I never saw the Jeep before buying. This is called "trust" and this is nothing but a complete confidence I had in the gentleman who knew where the Jeep was, who did the talk with the owner and told me everything he knew about it. Then, I sent the money, he got the Jeep and transport it to the Hammond Barn in Eastern Ontario where I took delivery of this beautiful jewel!
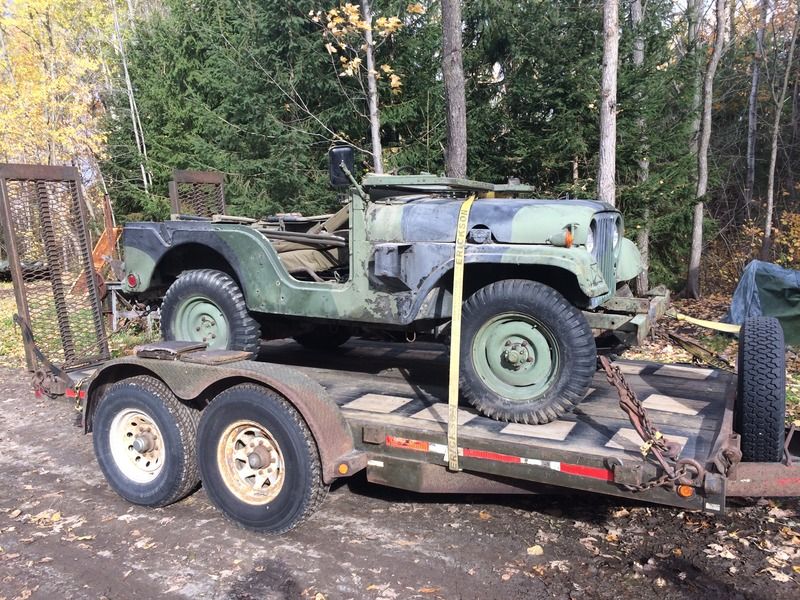 This is how she made the trip.  My first look at her… 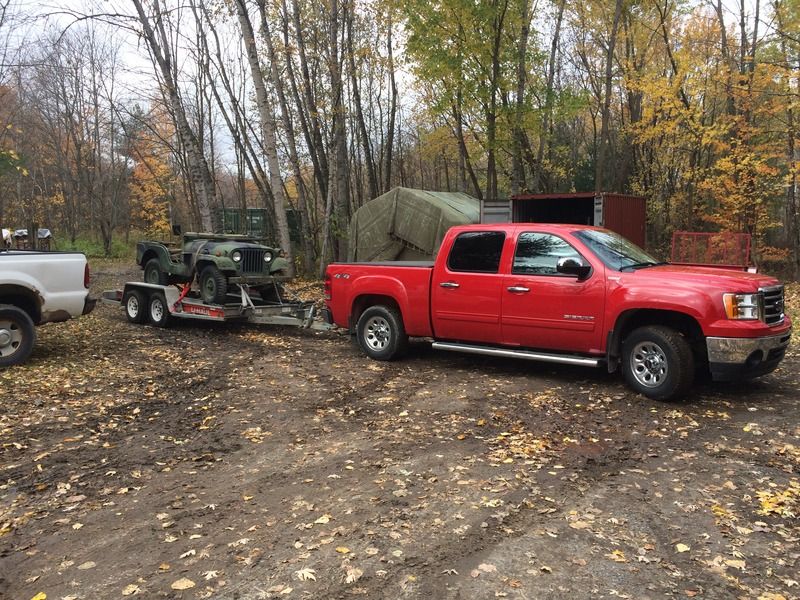 Then she was mine. My first ever military vehicle. The journey began... |
|
#3
|
|||
|
|||
|
Then, after almost three hours of driving, she finally arrived to my friend's place where she should slowly get back to life. At this point, I didn't know she was going in the heated garage for all the winter. I'm really please about this fact. The Jeep is coming from Manitoba where the rust didn't damage her too much. Knowing the humidity we have in Quebec Province, I was expecting a hard winter on the iron parts but I'm very lucky to have the Jeep in a dry heated place. It starts very well…
Here are few pictures I took from her, just before removing it from the trailer and letting her sleeping in the garage for a week. 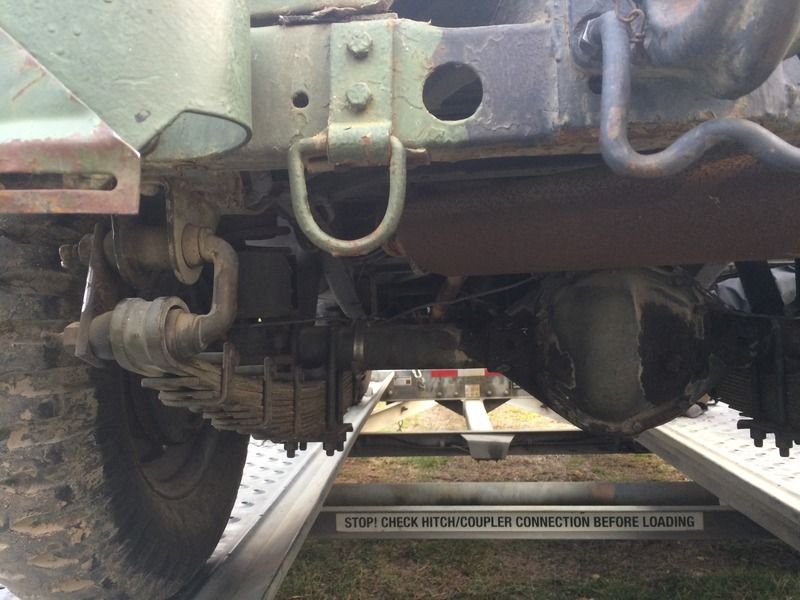 These numerous "D-rings" on the frame make a lot of possibilities. Some are pretending that the Jeep may have been sent overseas for mission, some are thinking it might have been there to tie it down in a Hercules airplane for airborne operations. Please, share what you think about it! 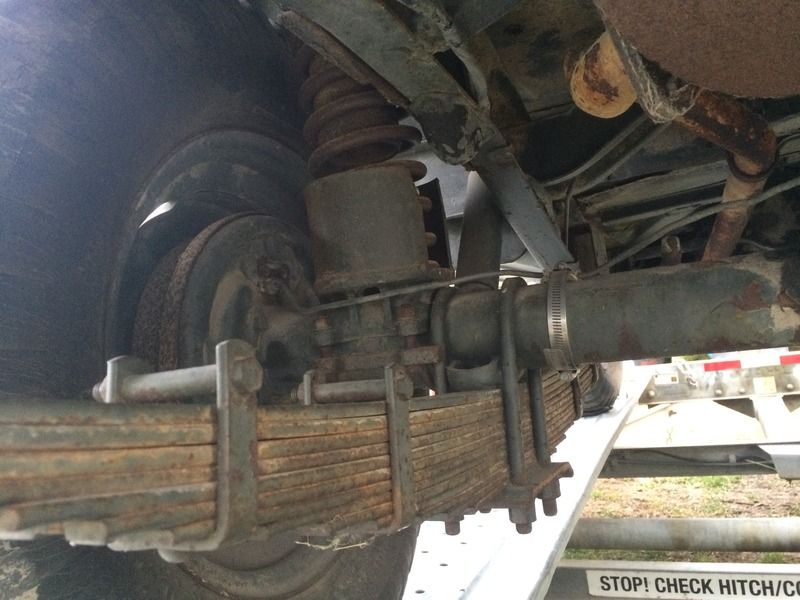 The vehicle is a genuine, almost 100% complete 106mm recoilless rifle Jeep. All the anti-tank braketery is present on the Jeep and only few little parts are missing. Here is the reinforced suspension, all complete and strong. 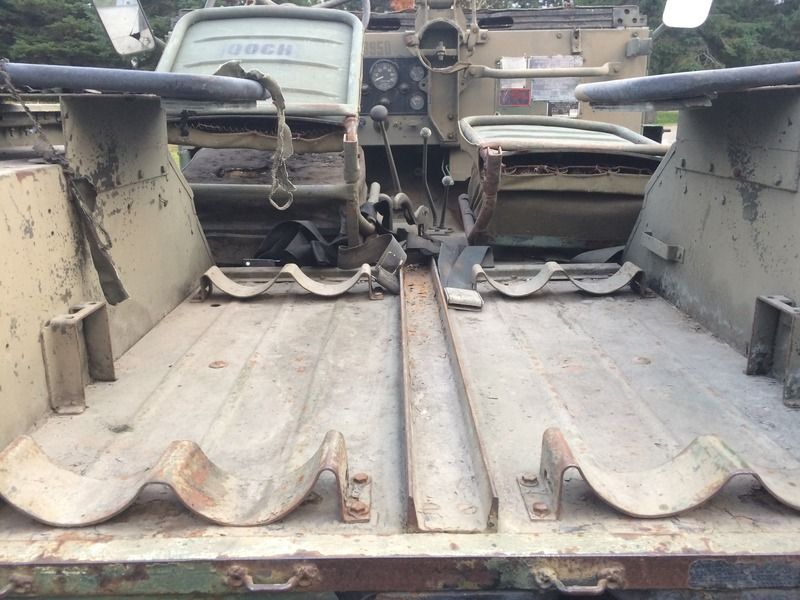 A perfect view of the special features of a 106mm Jeep. Rail for the canon's wheel and racking for the ammo. Most important, both jump seats are there and the clamp to tie down the barrel when moving. 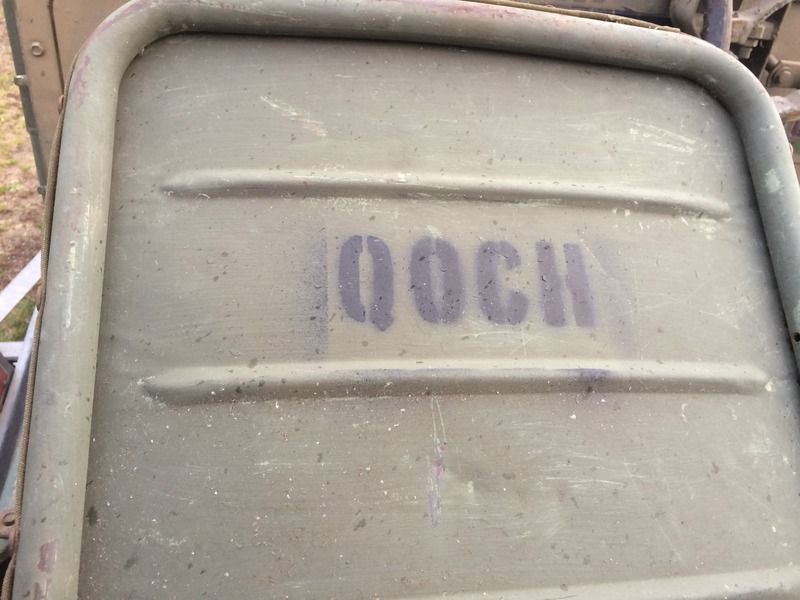 The last owner of the Jeep, the reserve unit of the Queen's Own Cameron Highlanders of Canada. 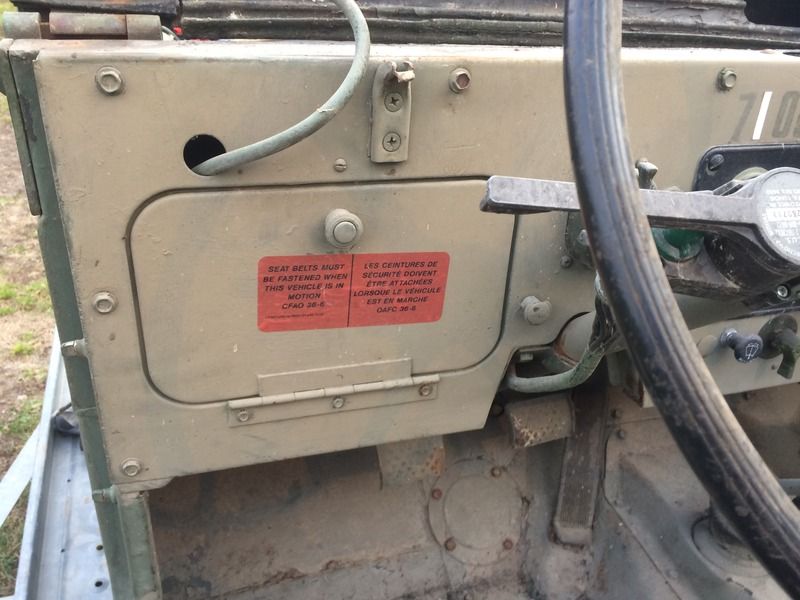 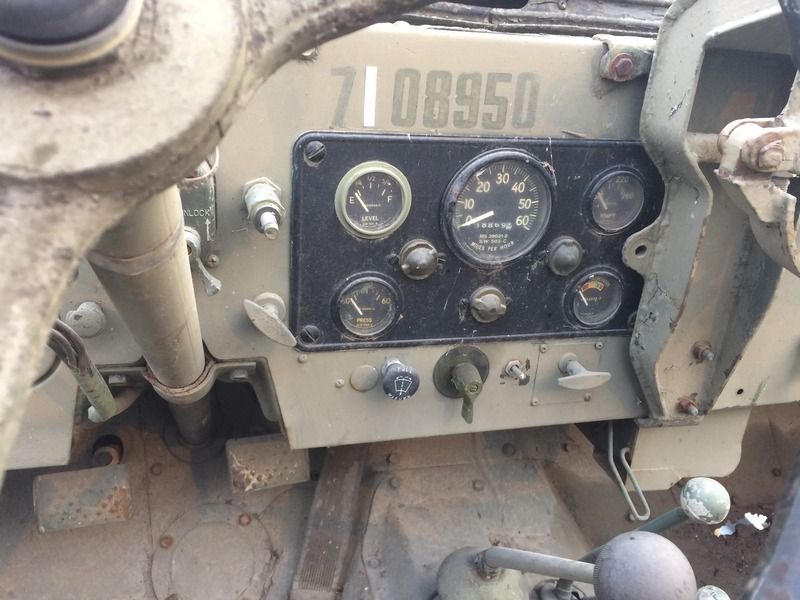 CFR 71-08950 and 18 869 km. 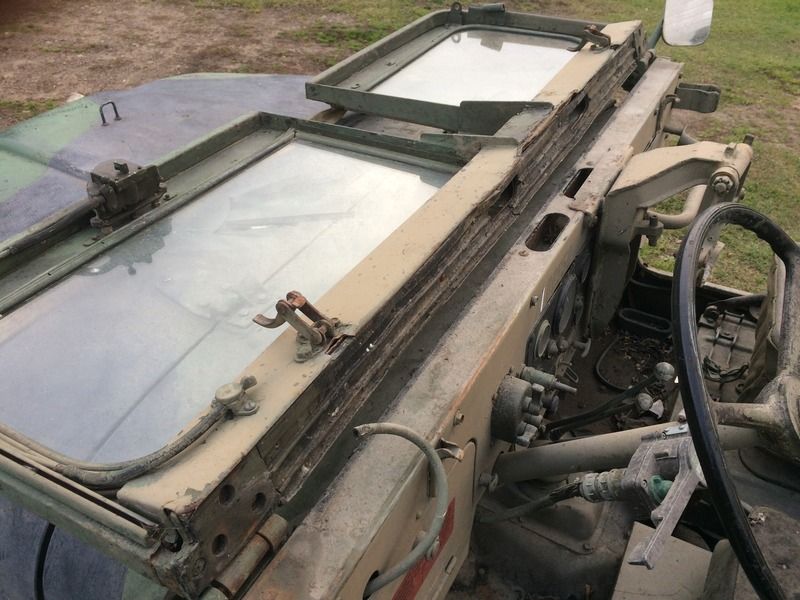 The perfect windshield! 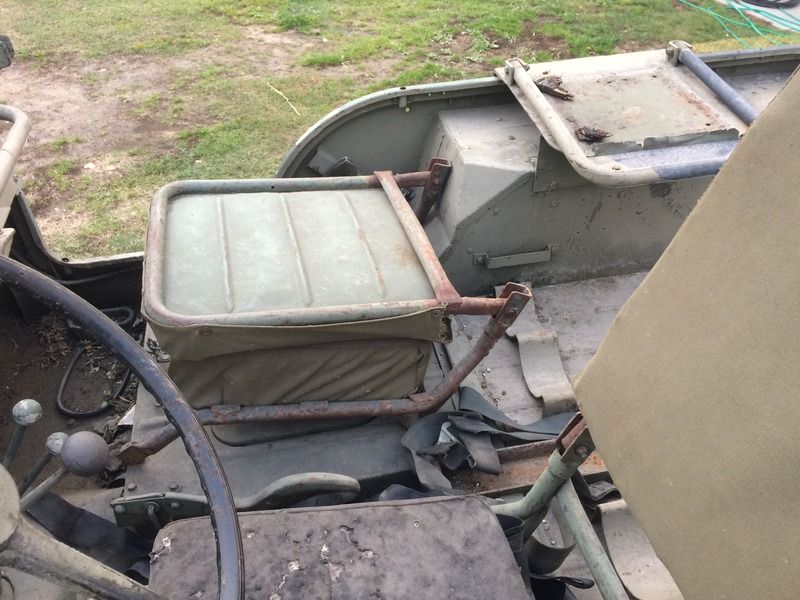 The passenger's seat is a bit rusty but the cushion is in perfect condition. 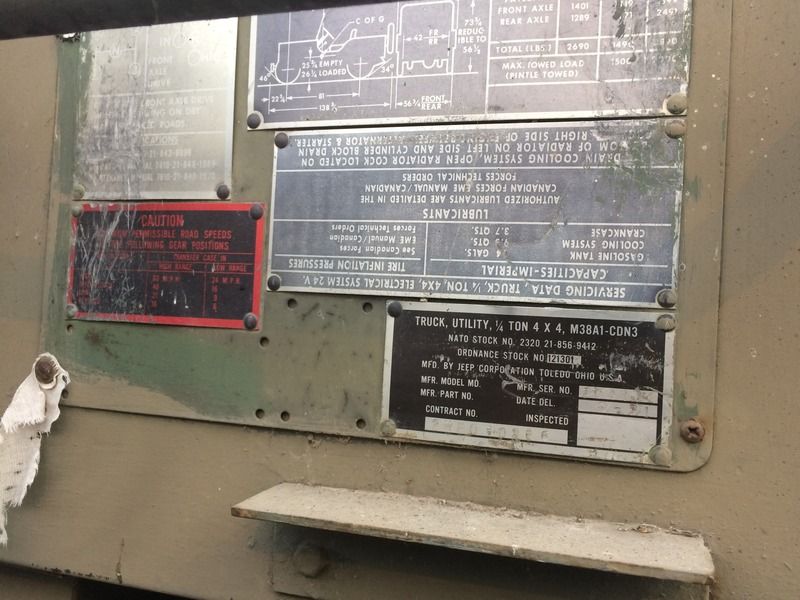 The data plates are all there… one has been installed up side down. Sometimes, this is the Vehicle Tech's sense of humor I guess… 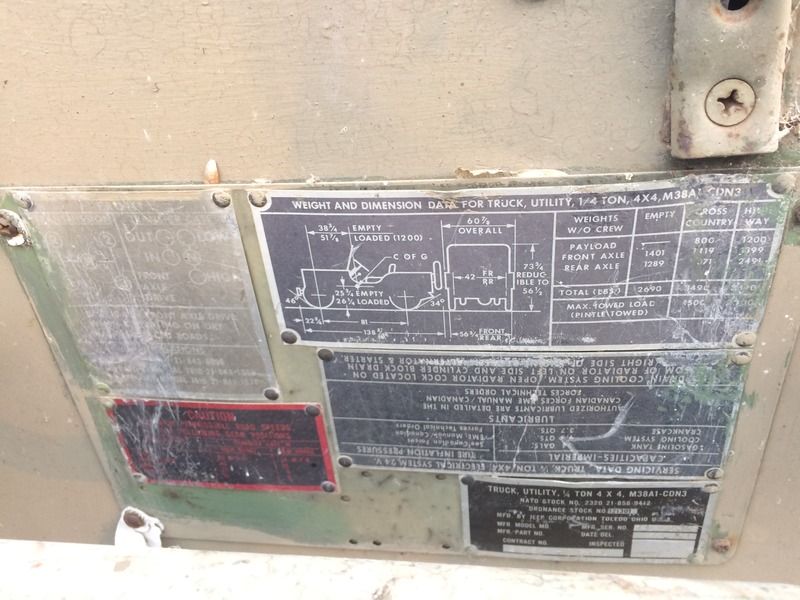 This conclude the transport of my new Jeep and the new project of restoring it. |
|
#4
|
|||
|
|||
|
The Jeep is not close to me, so I have to plan working on it during week-ends only or I bring some small parts that can be done on my place.
The next pictures are randomly taken picture that show the general condition of the Jeep. I realized that I can post only 10 pictures per post, so will proceed with few bunch of pictures. Usually, I place the picture's description below the picture. The text above is not necessarily related to the picture itself! 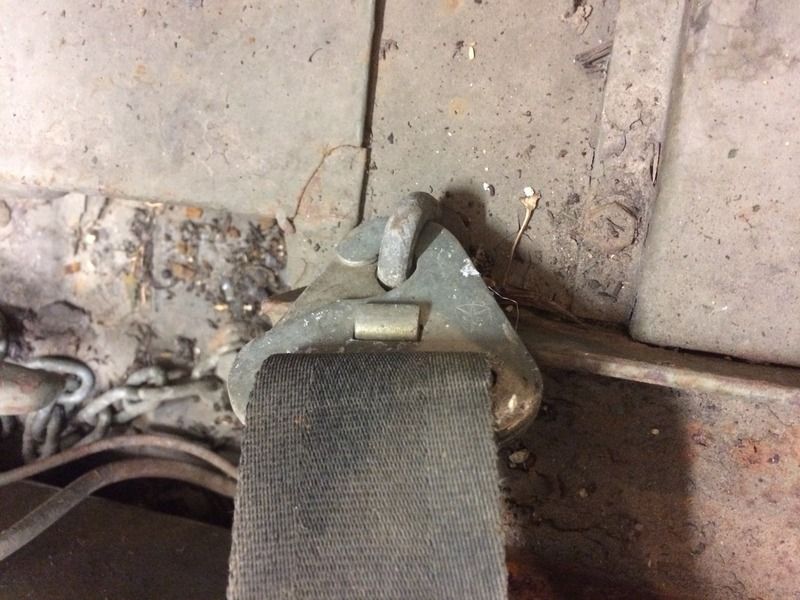 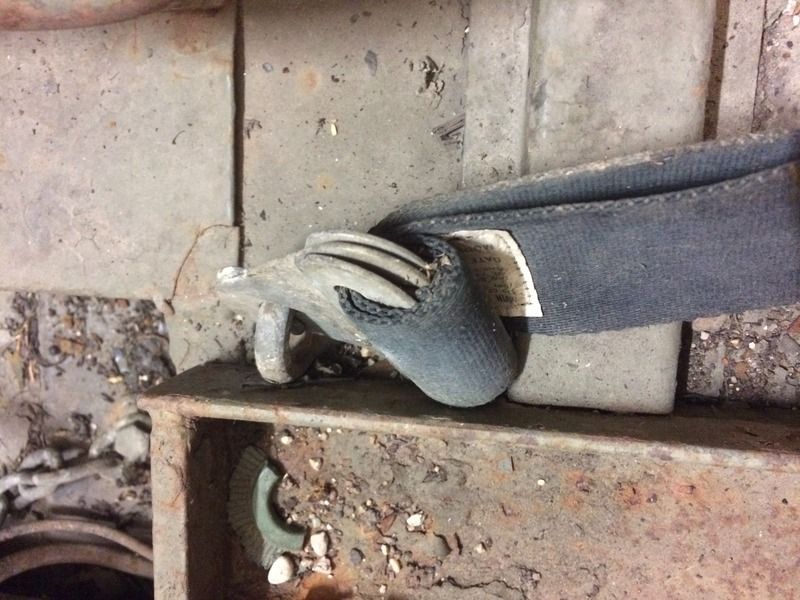 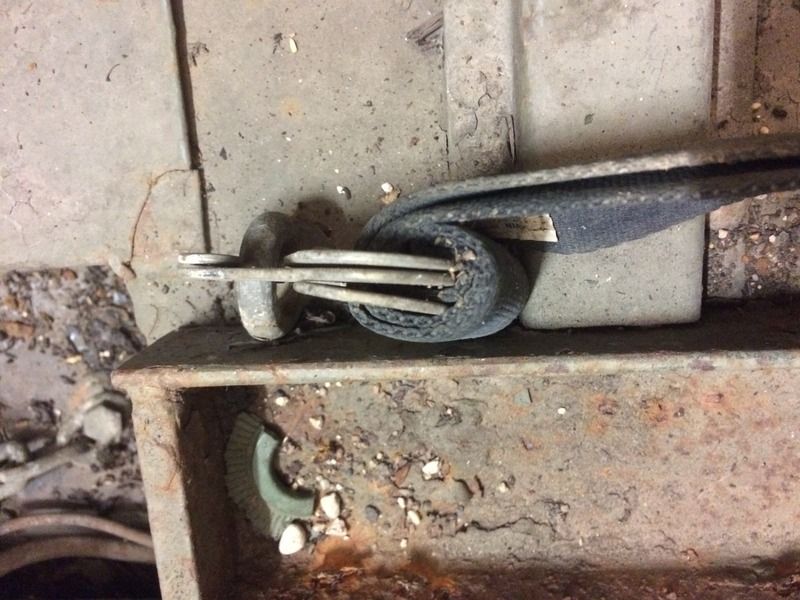 These pictures are mostly to help me how the seat belts work. They are a bit dry now and probably will need to be changed but with the max speed of this Jeep, I'll try to keep them original. Just not sure if they will pass the test?! Are there any treatment I can do the make them a little more flexible? 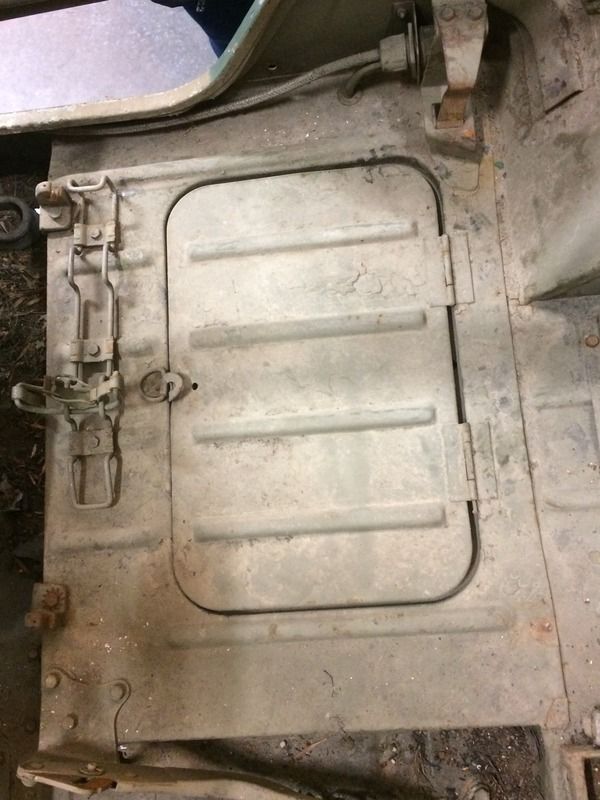 Here is the compartment under the passenger's seat. Don't really know what they placing there. The tool kit I guess? I would love knowing what was the EIS of the vehicle at this time! 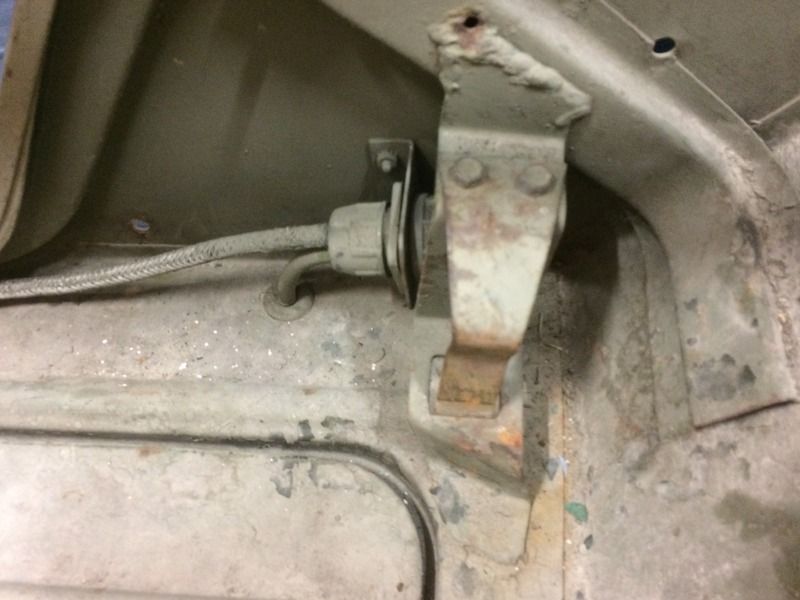 That's the lock of the passenger's seat and I don't know what is this electrical connection. What was the purpose of it?! Even the lock seems to be not working appropriately. Will have to find out what's wrong with it! 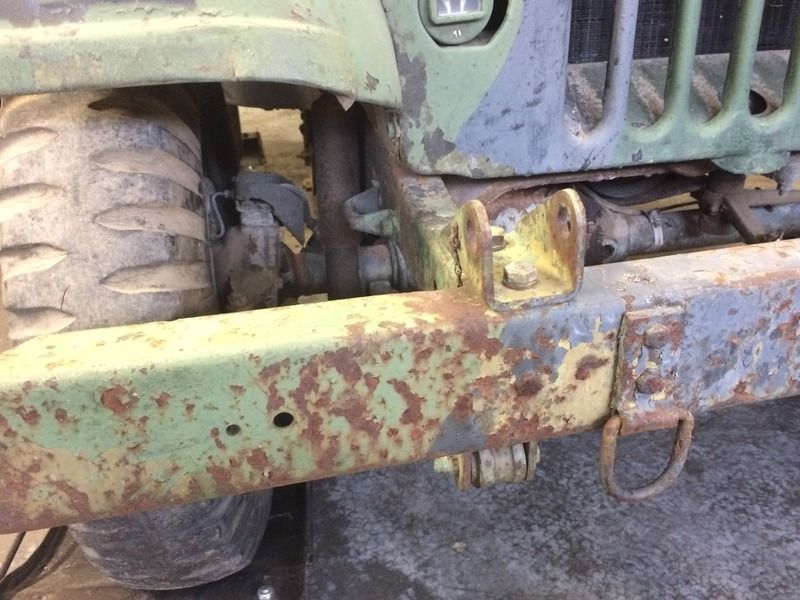 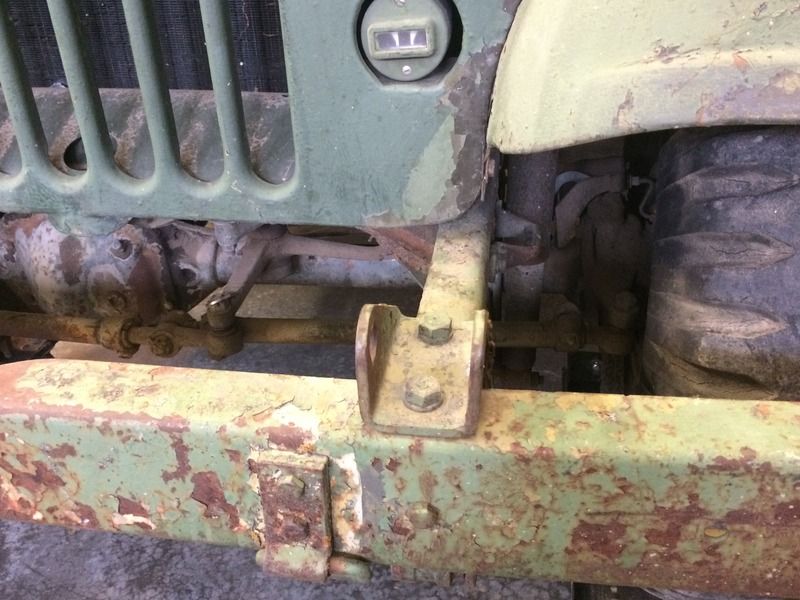 I need two front tow clevises 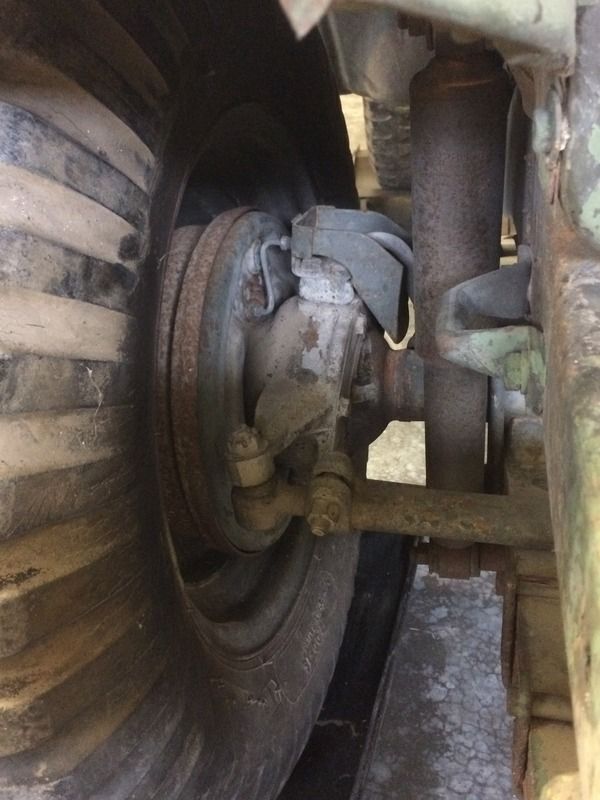 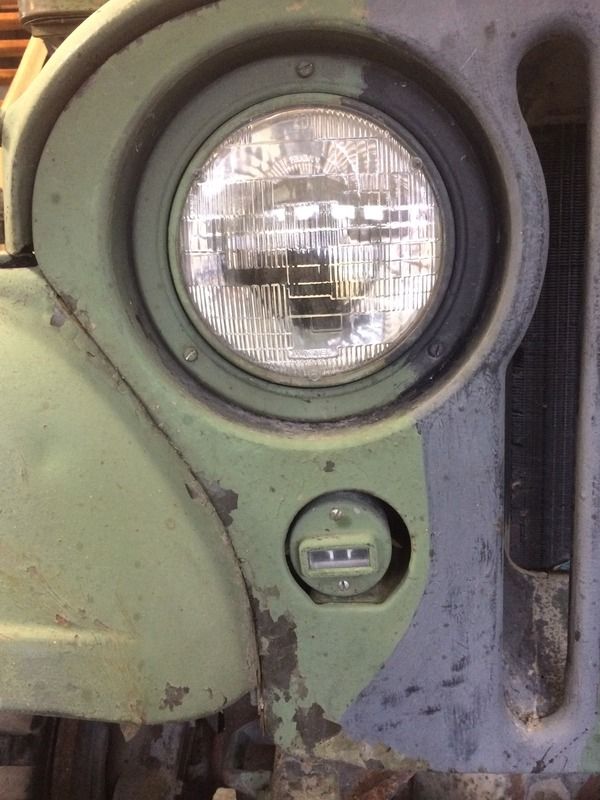 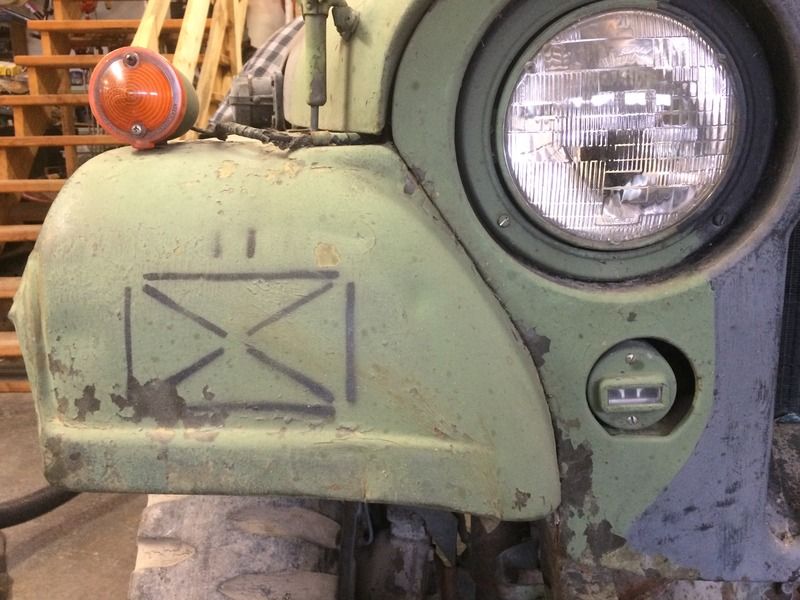
|
|
#5
|
|||
|
|||
|
Next group of pictures are miscellaneous. If you can help me finding the missing parts, please do not hesitate to leave a comment!
    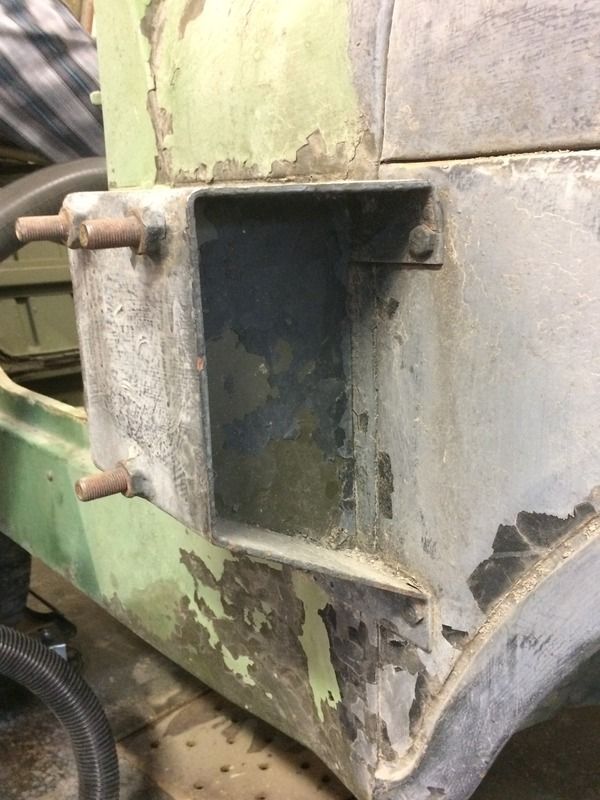  I need a spare rim to get the spare tire. I have a very stupid question… which nuts should I take? Any common nuts or those made for the Jeep? 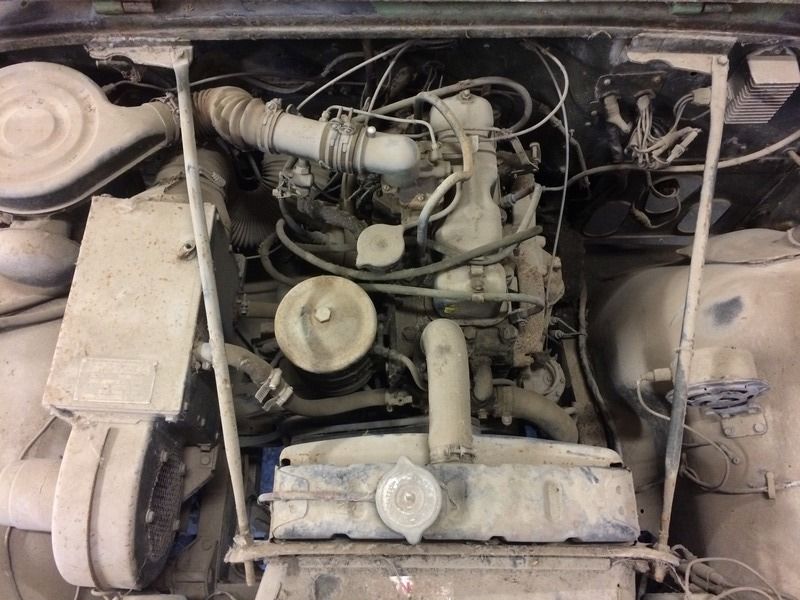 This is what the engine looks like. 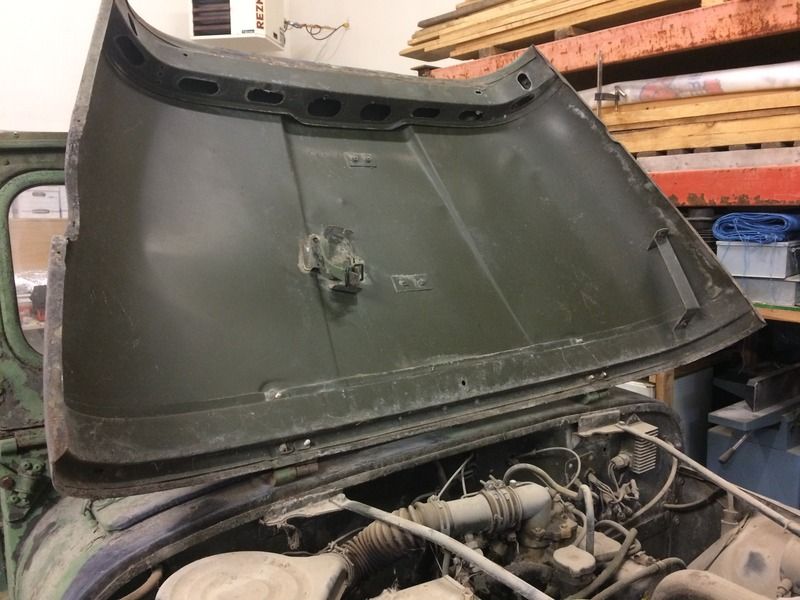 The most difficult choice will be to determine the final color. Do I keep it camouflage, which is my first choice or do I paint it with the original color like under the hood? I really don't know. Also, I would like to know what is supposed to be strapped under the hood? 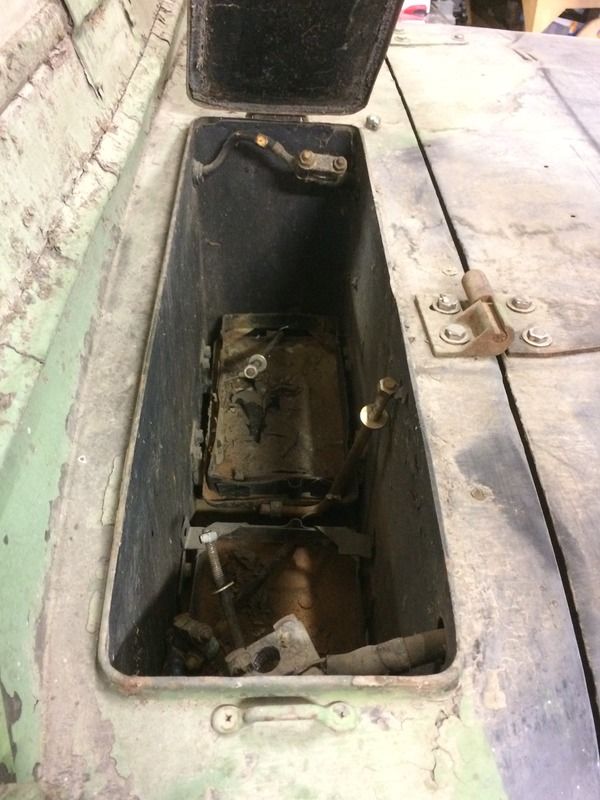 Battery compartment. Which battery should I take? |
|
#6
|
|||
|
|||
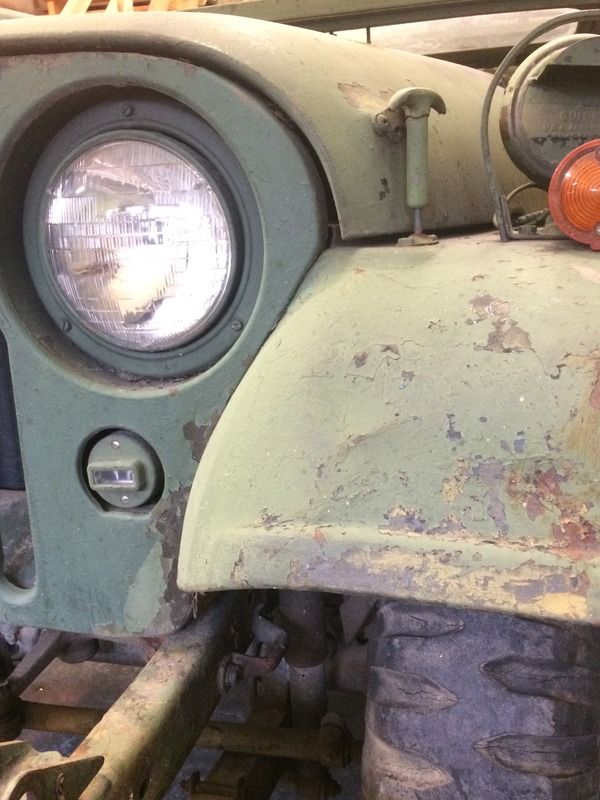
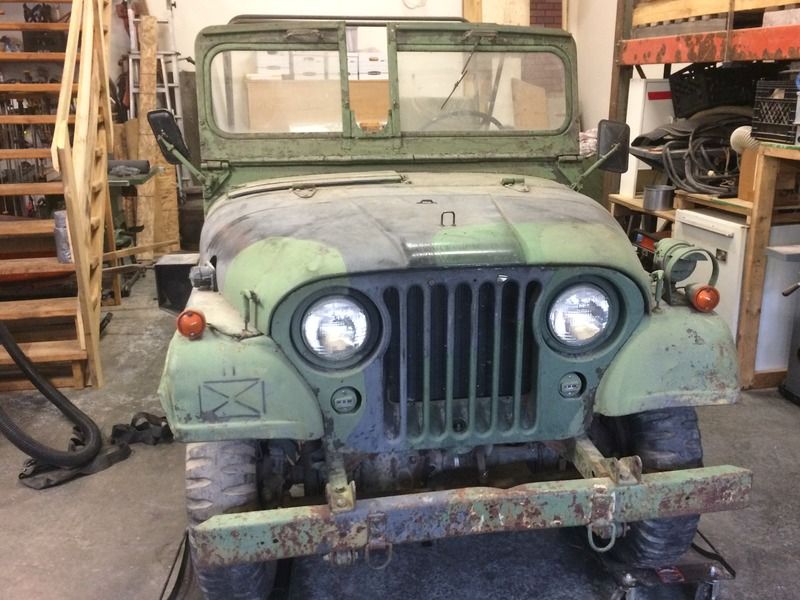 The windshield up… it's already looking good! 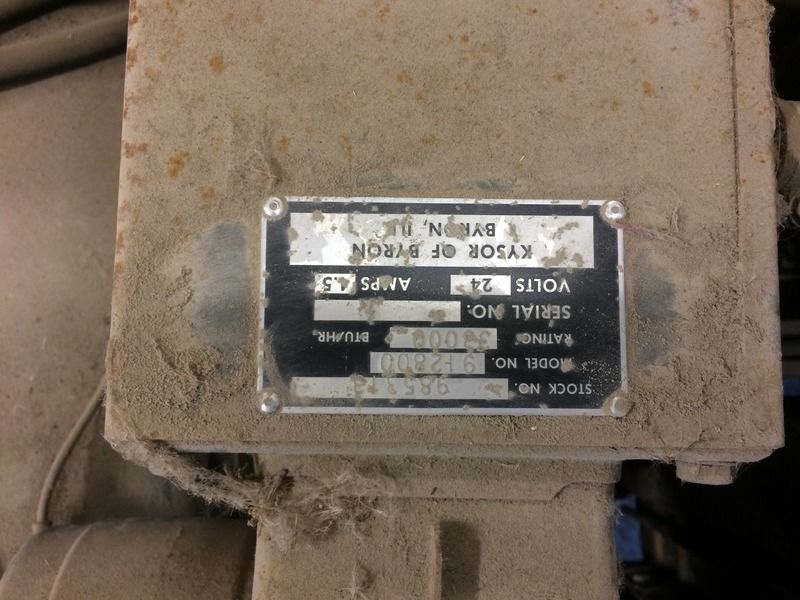 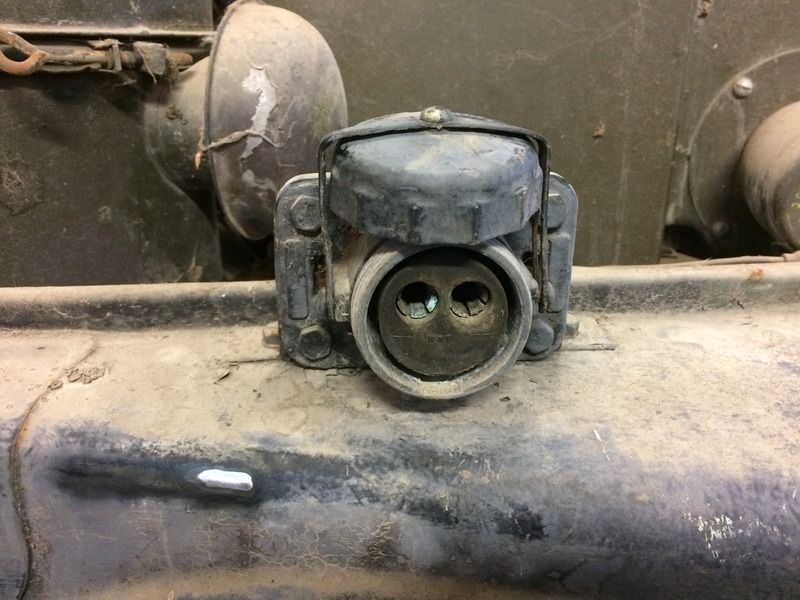 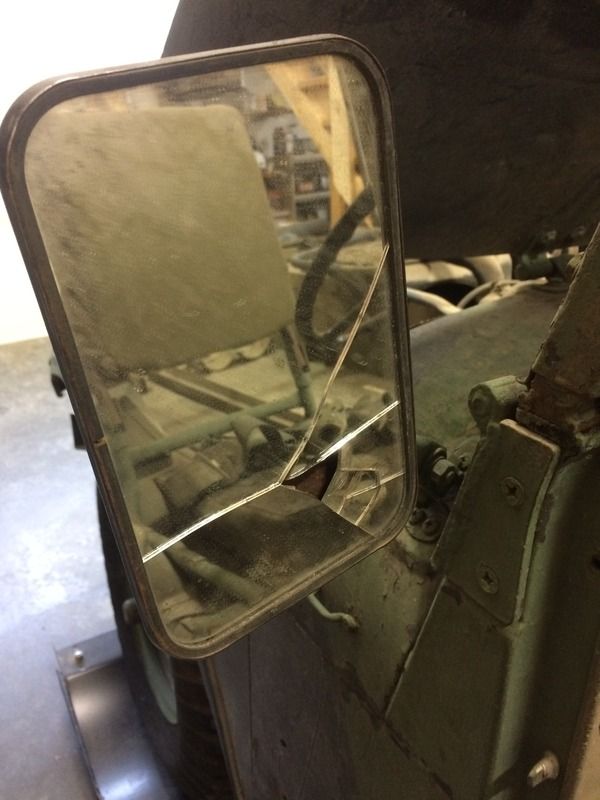 A cracked mirror… Where should I find one? 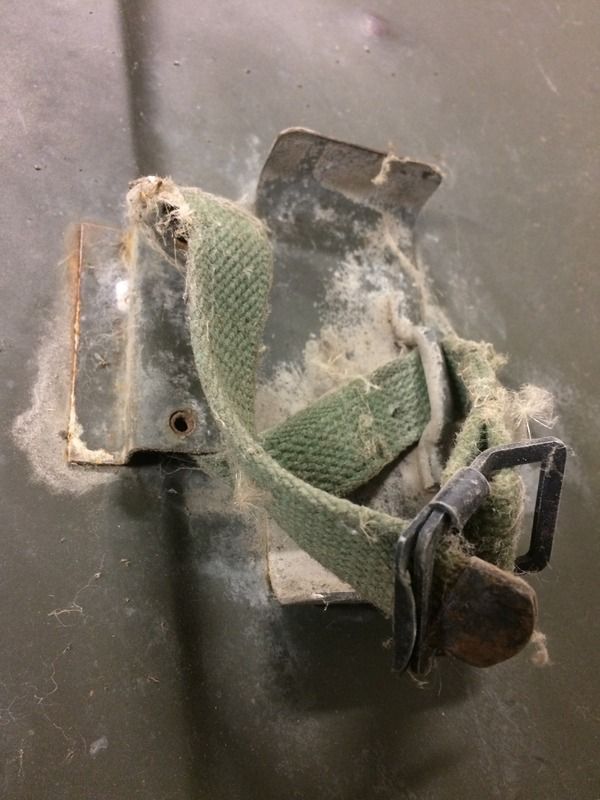 I'll need numerous cotton straps. I do not know if they still available. The ones we use today are some king of synthetic fabric and they are not good to old stuff in place. 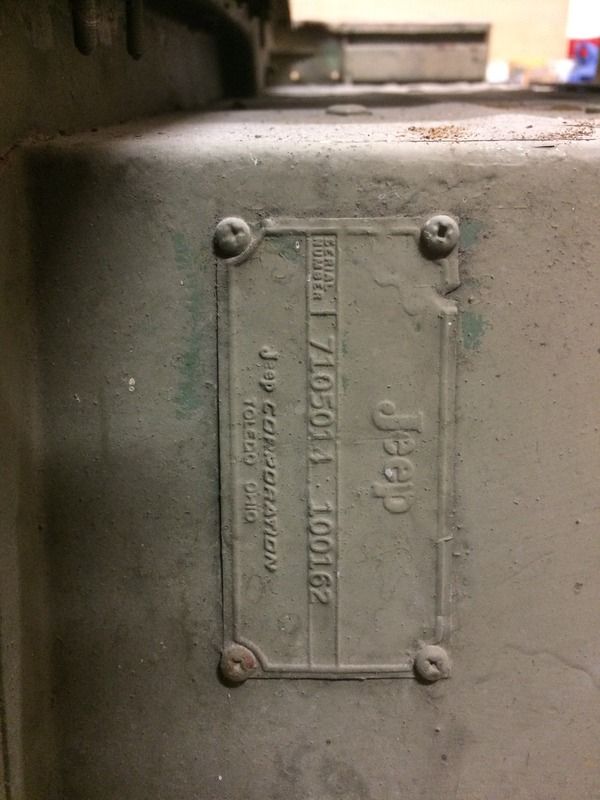 Nice serial number plate. I just hope I'll be able to remove the green paint to get the plate in original colors which I doubt it is possible. 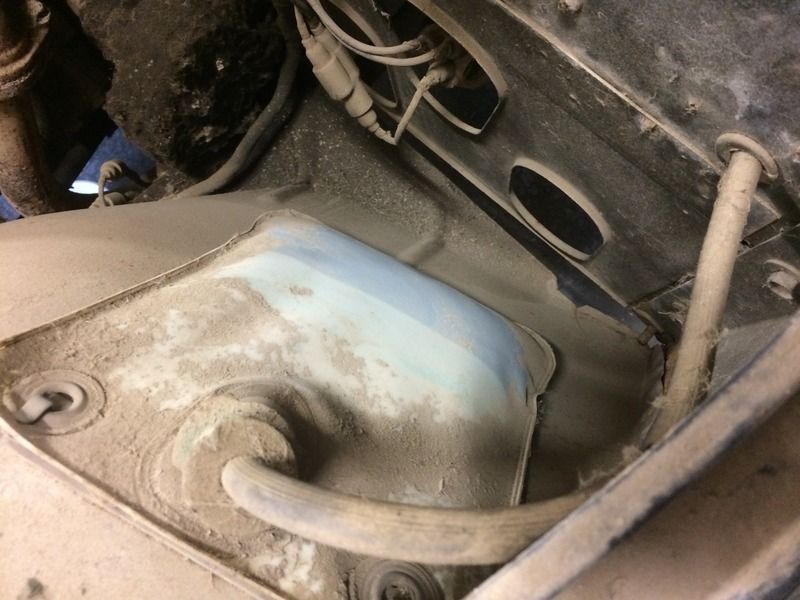 Windshield washer pouch… with "original" windshield washer in it!  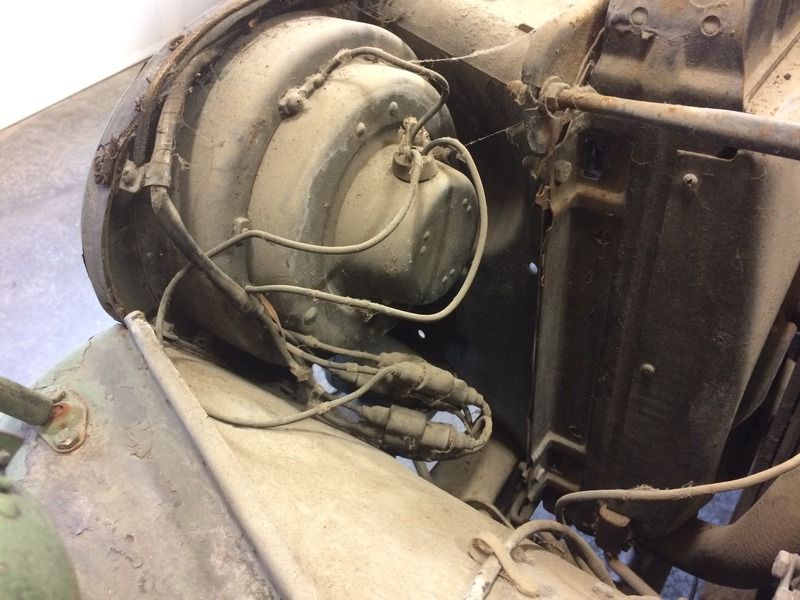 Headlights with wiring. 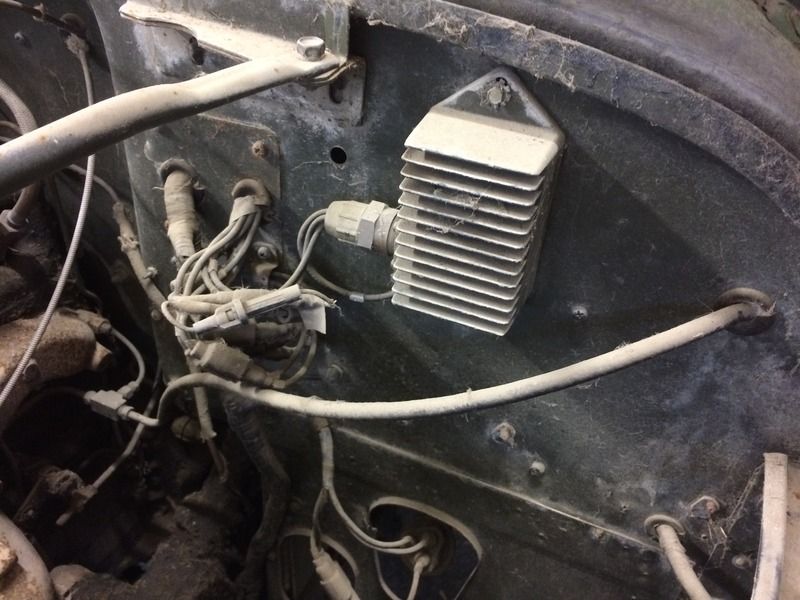
|
|
#7
|
|||
|
|||
|
|
|
#8
|
|||
|
|||
|
Lovely vehicle, Martin!
The electrical cable running below the passenger door sill is the 24 volt power feed for radio equipment. I believe a shovel fits in the brackets under the hood. David |
|
#9
|
|||
|
|||
|
Yes, the fitting under the hood is for a short handled, round nose shovel with a D-handle. We had a variety of military issue and commercial purchase ones. As long as it has the right curve to fit under the hood and over the engine, you're OK.
The cotton straps are correct. There is a lot of dust on yours, but those are right. If you find a roll of that 1" cotton webbing and some heavy green cotton thread, you'll be OK. The unit Mat Techs are probably busy as it is making rifle cases and luggage bags on the side to help. They might not want to change thread either, because the modern thread is much stronger. I don't have original batteries in my M38A1 or M151. I just measured the size and went to my local battery dealer. I happened to be doing that errand in uniform, and the guys gave me a trade discount. (Lesson learned, always ask for a military discount.) The M38A1 EIS from memory was really very limited: a shovel; a spout, flexible i.e. "horse cock" for the jerry can; a 12" long chrome tire pressure gauge; a short tire wrench; small bottle style jack and folding jack handle; and maybe a 12" crescent wrench and straight blade screwdriver. The period correct bag is a grubby green canvas tool pouch with a flip over flap that looks like a postal envelope. Some units SOPs would have added an axe, a pick and a machete in a black plastic sheath. I had forgotten about the 24v slave cable relocation to get away from the spare tire. The loops pointing down are unknown, but possibly the answer already given is for aircraft tie-down. I'd be suspicious about guessing if this vehicle had an installed radio. The chassis is already at capacity with 4 crew, their weapons and gear, the 106 and a couple of rounds. An RT524 and IKEE adds weight that isn't much use. The average infantry radio net is also low powered and localized. If it had a radio, I think it would have been a PRC25 or 77 set slung where ever it didn't get in the way. The normal improvised location is suspended over a seat back, but yours fold down. The data plate might be upside down on purpose. The 106 carrier was just different enough from the standard vehicle to have other weights and dimensions. Did the CF make new plates or just warn the crew to memorize the changes?
__________________
Terry Warner - 74-????? M151A2 - 70-08876 M38A1 - 53-71233 M100CDN trailer Beware! The Green Disease walks among us! |
|
#10
|
|||
|
|||
|
The lock on the tool box is not correct. It looks like the original latch was missing, and someone welded on a washer to the front to act as a hasp.
The upside down data plate is just one of those things. I have never seen another, and it looks like it was done at the factory. From the CFTO modification instruction for the M100 trailer (Installation of tie down ring kits), it mentions the reason for the tie down rings: "for air transportation of the vehicle". I'm afraid I don't have the instruction for the 1/4 ton vehicle, but it will say the same thing. I note you are missing the knob on your dole primer pump. The original shofter knobs were just press on, and when they got older, they tended to fall off the shifter, so when you went to do your next shift, you would get the shifter poking your palm. I would routinely remove the dole primer knob, cut the shifter a little shorter to where it had enough diameter to support the knob, and then thread the shifter and install the knob onto it. Odds are I did that to the very Jeep you have back in the early 80s, when I worked MSS at Minto Armouries. Glad you are hapy with the truck, and hopefully you will feel the same way on those late late nights when you are working underneath the jeep with dirt in your eyes, blood running down your fingers mixed with the grease, and nothing is going right. Last edited by rob love; 01-11-16 at 07:22. |
|
#11
|
|||
|
|||
|
congratulations martin. i saw the jeep first hand when rob came thru arnprior.absolutely an awesome jeep.all original like that is very rare today.i have a 106 jeep i will be dismantling for parts.regards jim fraser.613 623 6156.
__________________
,3-m38,1-m38a1,1-,2-mb,2-cj2a.mbt,m100. |
|
#12
|
|||
|
|||
|
You guys are awesome. You are at another level comparing to me. I didn't learn to recognise these vehicles. I was pretty good at the "enemy" vehicles when I was in the anti-tank platoon. I have to shift my interest now!
I will always try to answer to each of your comments, for me, this is the proof that I care about the time you take for answering me. I will never thank you enough for what you are doing. 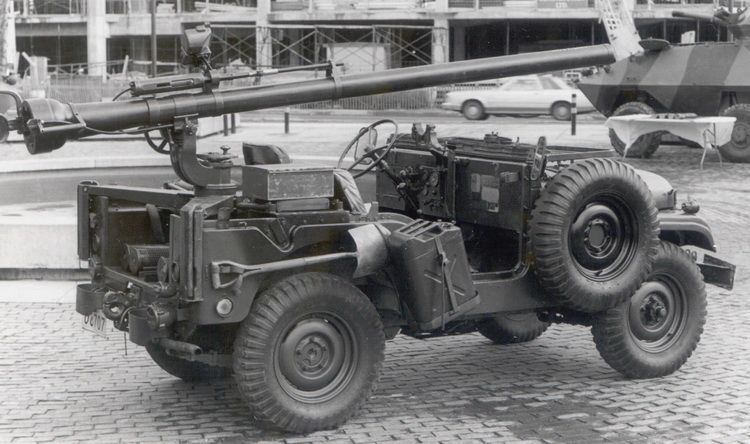 Here is one of the picture I use a lot to try to figure out what is missing on my Jeep. This is also the picture that make think to put it back in dark gloss green but, one thing at a time... I also like the camouflage version. Terry; There is a small box added on the right hand side jump seat and I can see this on more than one Jeep. It looks like to be added by units vehicle tech. I'm looking for a shovel like this at my unit. If I can find one, I'll buy a brand new one and will swap it if possible. The only thing is, the metal bracket that is supposed to hold the shovel blade is not there anymore and I'm curious to know if it's because one is available under the hood?! I never saw any picture with a 106 Jeep equipped with radio. That's a good thing, one less piece of kit to buy! In fact, I may look for a PRC77, I'm glad that I have to find the 524. I was seek of hear the fan going on when pressing the pressure switch. I'm not looking to get original batteries. Rob was very clear on that point, they are not the best batteries we can find. I will just go on my local Canadian Tire or maybe a specialized shop to make sure I'll get the good sized battery. If I must know something special about batteries, please let me know. Will try to slowly assemble the EIS when going on yard sale and places like that. The most frustrating is I recall one of our CQ giving this kind of jack 15 years a go because they received new ones. I should have taken one... but I wasn't interested at this time! Last edited by Martin Dauphinais; 01-11-16 at 20:00. |
|
#13
|
|||
|
|||
|
Hey... wait a second, am I fool or the Jeep on the previous picture is camouflage too? The rims look on the Jeep are green and the spare one is black. The back of the Jeep looks like green and the middle black too. Also, it looks like to be spray painted.
|
|
#14
|
|||
|
|||
|
Quote:
The attached diagrams have been posted here before, and could be Rob Love's.
__________________
Terry Warner - 74-????? M151A2 - 70-08876 M38A1 - 53-71233 M100CDN trailer Beware! The Green Disease walks among us! |
|
#15
|
|||
|
|||
|
Quote:
That box isn't vehicle kit. Not being a 106 gunner I don't know, but I suspect it could be tools for the gun. It seems like a dangerous place to put valuable stores, but there aren't many other places available to attach anything.
__________________
Terry Warner - 74-????? M151A2 - 70-08876 M38A1 - 53-71233 M100CDN trailer Beware! The Green Disease walks among us! |
|
#16
|
|||
|
|||
|
Rob;
When I say I'm learning a whole new vocabulary, this is the case again... I try to figure out what is "the knob on the dole primer pump". I think I know what it is... Will have to look with Jim what he could have in spare parts with his Jeep. I'm the kind of person who's always looking to be the most historically correct... sometimes I may sound stubborn or a bit stupid but we are like we are. If I can find a lock for the tool box, I will. Now that I know it is incorrect... I will hunt for a correct one! ;-) Regarding the manuals, Bob is supposed to get back to me with something. We will see what he can find?! I'm more than happy with Jeep Rob, I really feel I have a rare almost complete truck. I'm very lucky that you agreed doing the talk taking the Jeep from the previous owner without knowing me at all. Your trust is really appreciate. I just hope I will stop after this Jeep will be done, if not, I may ended up single and living in a garage with some old vehicles... |
|
#17
|
|||
|
|||
|
David;
It appears that you were right with the shovel under the hood and the radio connector! Will try it next time I work on the Jeep. Jim; I sent you a private message. Let me know when you have two minutes! Terry; Thanks a lot for reposting the camouflage pattern, it'll help a lot! |
|
#18
|
|||
|
|||
|
For some that is what they call Nirvana.
|
|
#19
|
|||
|
|||
|
Quote:
The shovel was likely mounted externally due to the difficulty retrieving it from under the hood with the gun there. If you mount a shovel under the hood, I recall we occasionally had problems if the shovel head was at too great an angle, it would rub and split the heater hose. The broken mirror is easy to replace. You can get them from NAPA, although you will have to paint it. I could look up a part number if you need. Last edited by rob love; 02-11-16 at 07:04. |
|
#20
|
|||
|
|||
|
Rob, you spent way too much time for me with this Jeep. If you start looking up for some parts number, I'll be very embarrassed. However, it could help me a lot with the NAPA guy! If I go to NAPA, which model of Jeep do I have to use? Is it M39A1 or something like CJ3... Does the civilian side of the business use M38A1 as designation or this is only a military thing. If I need an oil filter (do not even know if there is an oil filter... mechanic looks like pretty basic on this Jeep!) which model of Jeep I should use?
I was also looking for some parts over eBay and elsewhere. many of them are coming from the US. I would like to know if it would be possible to get some parts from your favorite surplus yard when you'll go for yourself? I will wait for Jim's response but if I can buy from people here, I much prefer giving my money to people who need it to restore another Canadian piece of kit instead of a huge shop. I will need: - 2x front tow clevis - 1x spare rim - 1x light switch (the one I have seem to be broken as the upper selector is turning free) - Numerous cotton straps (One for the Jerry can, one for the axe, one for the shovel) - 1 x metal bracket to hold the shovel blade - 1x original shift knob - 1x driver's side mirror - 1x wiper handle (no idea how to call it... the little part that helps moving the wiper when the assy is not working. The one on the Jeep has the little handle broken) That's pretty much what I need to change so far. My guess I can do myself the small brackets to hold the straps everywhere on the Jeep? They seem to be aluminum made? Thanks for your patience guys, you probably answering beginner's questions again... |
|
#21
|
|||
|
|||
|
Glad to see my photograph is getting a lot of uncredited exposure, which is the reason I now watermark everything and post very few images.
|
|
#22
|
|||
|
|||
|
The little brackets for the straps are known as footman loops. Not something you hammer out yourself, and there are two or three variations used on the Jeep. Don't know why yours is missing so many.
The light switches are still used today on many military vehicles. If you know of any Iltis/MLVW etc in scrapyards, they will have that same switch. Otherwise, ebay or many of the US dealers will likely be your best source. I'm afraid it's getting a little late in the season for me to be heading out to the scrapyard again...winter approaches. For the mirror, ask NAPA for a 12072 made by Grote. It will come in black. List price is $34.55, and our trade price is $18.99. When you go to civilian parts suppliers, do not bother to say M38A1....they will not have a listing. Use the equivalent year of a Jeep, or research the part numbers yourself first. I usually use a 1968 CJ5 for a search on parts....by 1971 the Jeeps underwent a lot of changes, however for your Cdn3, the 71 listings will have the appropriate brake and axle listings. Civilian suppliers are good for things like seals, bearings, filters, U joints, and gaskets. But for any of the 24 volt stuff, use the part number off your old part, or else go to the military suppliers. Some good suppliers here in Canada include Brian Asbury out of Acton ON, and Willys Acres, also out of Ontario. |
|
#23
|
||||
|
||||
|
Salut Martin! Il est possible que j'ai quelques pieces pour toi.
J'ai deux M38A1 Canadien aussi, 1970 et 71. I will check for you on the weekend when I am home. Go camo!
__________________
3RD Echelon Wksp 1968 M274A5 Mule Baifield USMC 1966 M274A2 Mule BMY USMC 1966 M274A2 Mule BMY USMC 1958 M274 Mule Willys US Army 1970 M38A1 CDN3 70-08715 1 CSR 1943 Converto Airborne Trailer 1983 M1009 CUCV 1957 Triumph TRW 500cc RT-524, PRC-77s, and trucks and stuff and more stuff and and....... OMVA, MVPA, G503, Steel Soldiers |
|
#24
|
|||
|
|||
|
Oh well... I've just been told that I should have not use Photobucket to post the pictures. Didn't know that, sorry to have not read the rules... just not enough time to do it!!
I would like to edit the post but apparently I can't do it this way. Next pictures will be uploaded on the server directly. |
|
#25
|
|||
|
|||
|
So, what could be the best way to save these seat belts? I think I will just clean them in a washing machine. We'll see the final result!
They are a bit stiff… I do not know if it's because of the sun or the dirt. I was very surprise to find two different and complete seat belts. They are the black ones. If the originals are not good enough, I will swap them with the black ones. What would you do with these belts? |
|
#26
|
|||
|
|||
|
Quote:
A few years ago on one of the gun forums, the topic of cleaning packing grease off Chinese rifles came up. The conversation was to put the oily wooden stock in the dishwasher to remove the gunk and oils. Someone started reading halfway through and put his rifle in the dishwasher. To his credit, he shared his shame with the internet. Don't be THAT guy.
__________________
Terry Warner - 74-????? M151A2 - 70-08876 M38A1 - 53-71233 M100CDN trailer Beware! The Green Disease walks among us! |
|
#27
|
|||
|
|||
|
Seatbelts have a certain lifespan. A good inspector would reject most of those belts simply because they don't have their labels on them, and if they did, the age should also get the vehicle marked off as unsafe. That said, most safety inspections are on a flat rate, with little time to spare, so the inspectors may not go that far.
You can buy replacement seatbelts online for between $10 to $20 each. |
|
#28
|
|||
|
|||
|
hi martin.the 106 jeep you posted pictures is the jeep that i am going to part out.jason ginn ran the serial no of this jeep.its really rough shape.its the same jeep as in the pictures.regards jim.613 623 6156.
__________________
,3-m38,1-m38a1,1-,2-mb,2-cj2a.mbt,m100. |
|
#29
|
|||
|
|||
|
What are the best batteries I can buy for this Jeep? Does it worth paying for high quality battery or normal quality is fair enough?
If you could have some details about the battery you guys are using, it could help me a lot to find the good ones! Thanks, |
|
#30
|
||||
|
||||
|
Martin
I will get you the number from my batteries. They are standard Interstate brand and fit the battery box nicely. Chris
__________________
3RD Echelon Wksp 1968 M274A5 Mule Baifield USMC 1966 M274A2 Mule BMY USMC 1966 M274A2 Mule BMY USMC 1958 M274 Mule Willys US Army 1970 M38A1 CDN3 70-08715 1 CSR 1943 Converto Airborne Trailer 1983 M1009 CUCV 1957 Triumph TRW 500cc RT-524, PRC-77s, and trucks and stuff and more stuff and and....... OMVA, MVPA, G503, Steel Soldiers |
 |
|
|
 Similar Threads
|
||||
| Thread | Thread Starter | Forum | Replies | Last Post |
| M38A1 CDN3 106mm recoilless rifle Garage find | army brat | The Softskin Forum | 30 | 09-07-17 15:59 |
| Post your pictures of the M38A1 CDN3 106mm recoilless rifle Jeep | Martin Dauphinais | Post-war Military Vehicles | 3 | 27-09-16 14:28 |
| Wanted: 106 recoilless rifle cover | Russell Boaler | For Sale Or Wanted | 0 | 25-08-16 04:08 |
| 1970 M38A1 CDN3 Line Jeep For Sale | spinnerhawken | For Sale Or Wanted | 4 | 06-03-12 03:04 |
| Carrier with 106mm Recoilless Rifle | Paul Ramsden | The Carrier Forum | 0 | 24-08-07 21:58 |